Sunday, March 17, 2013

Tonight I made some pretty good progress on the camera. Unfortunately, I also found the problem. I wish I could fix it, but I do not have any spare parts, and there is no way in hell I can have a bit more brass brazed onto the broken part.
 
Regardless, I will still clean it up, and put it back together and send it to the owner. Now, onto some pictures.
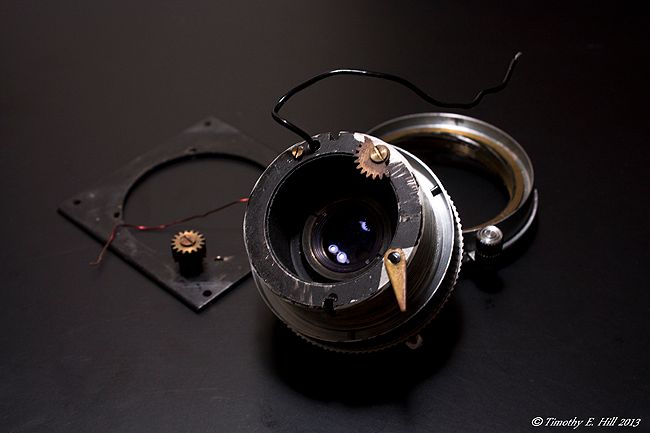
 
Lens Elements:

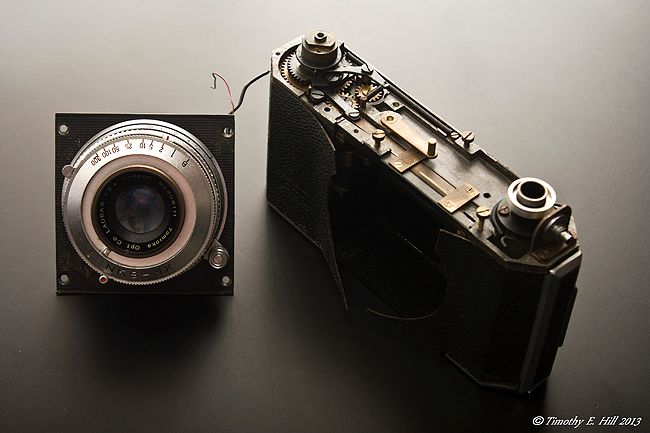
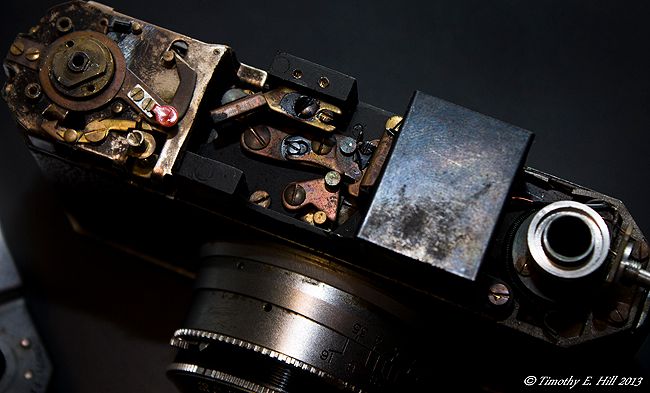
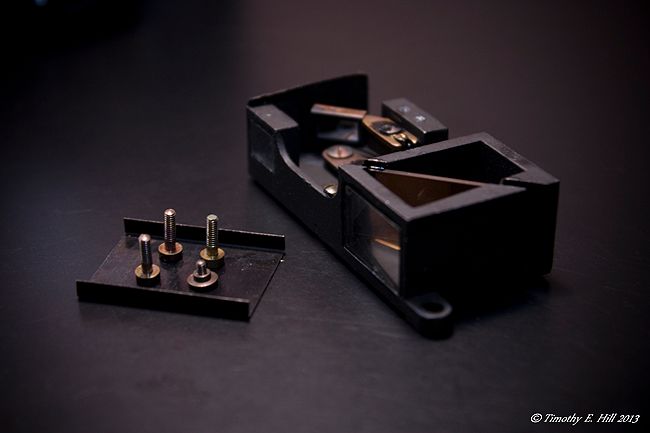
The lens and shutter pack:


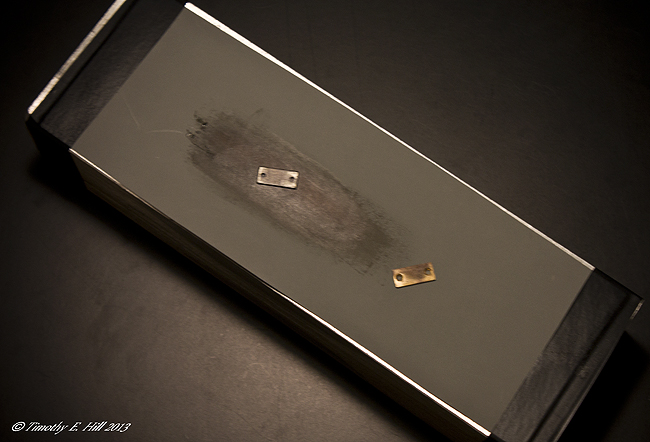
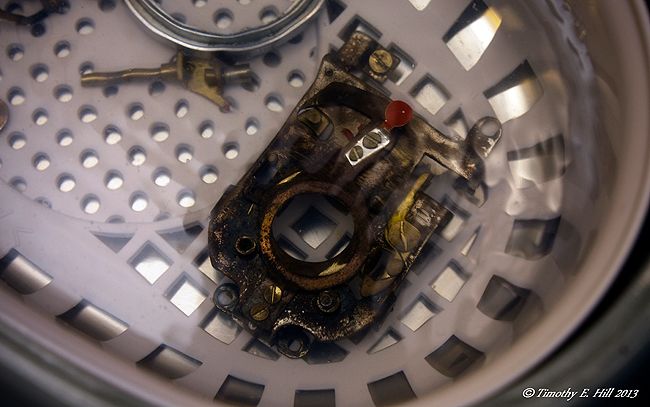
This is the broken part. Well, I should say it is worn to the point of it not doing its job. This is a linkage that is acuated by the shutter release shaft. The tip that contacts the internal release has worn down, no longer making full contact. It is very hard to see in the first picture:

 
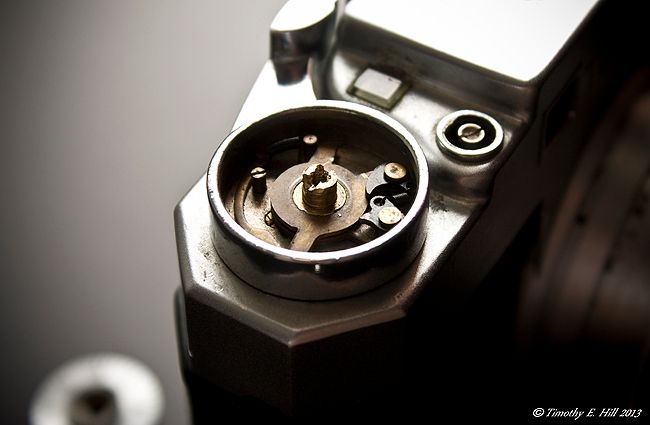
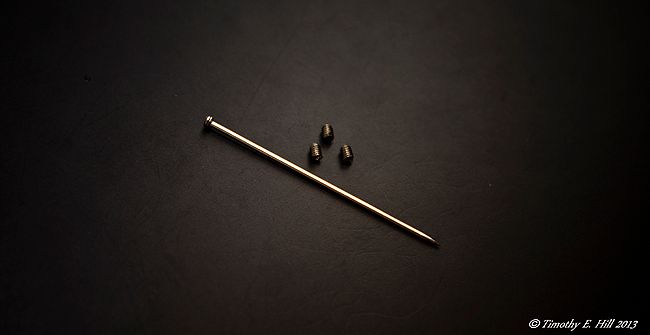
This is a macro photo of the very tip of the linkage. It is hard to see, but the tip has worn to an angle:
 

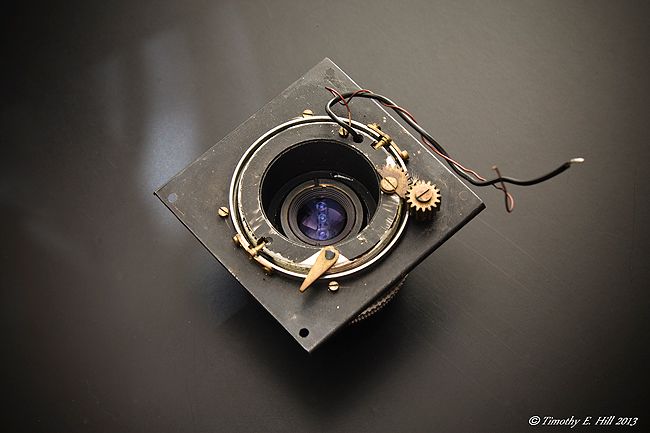
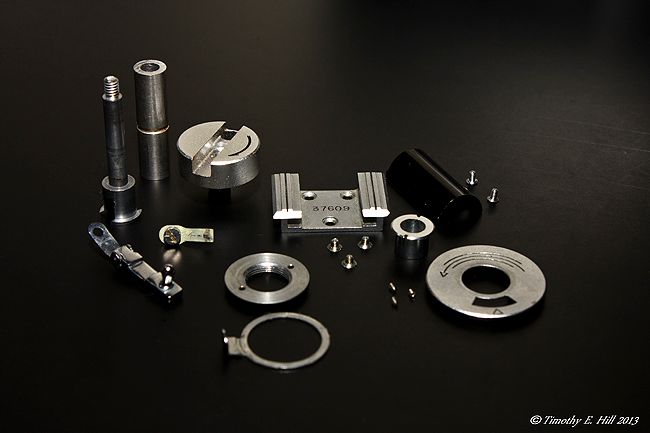
While I had the macro on, I had to take a shot of the timer gear pack. This is after cleaning and oiling. It is currently wrapped up in an oil cloth, to absorb the excess, and will be blown out with compressed air before I re-install it back into the camera:


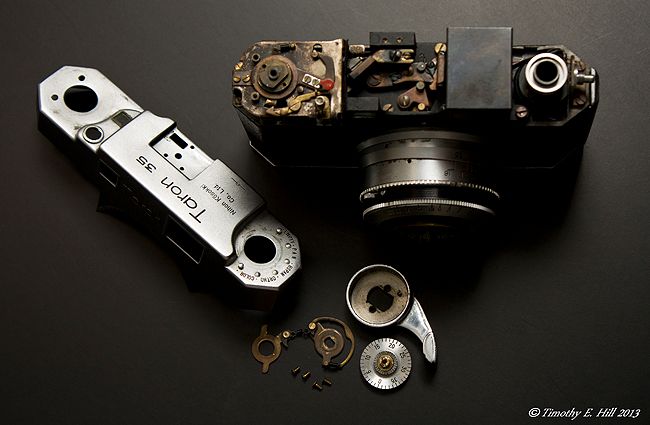
The lens pack with the apeture gear train still attached. This was the most fun to take apart. No. Seriously, it was.


Saturday, February 2, 2013

Almost Like Jewelry

After finally getting a new lens spanner wrench; they send the wrong one... Pins do not work with a slotted threaded ring. Seeing as I cannot (once again) take the lens apart, cleaning and polishing is underway.
 
Some part were just too small or too fragile to use the buffing wheel on, so a block of aluminum, 4000 grit sandpaper, and some polish to the rescue. The following is just to show the process:


And, we have no more corrosion and a clean/smooth/shiny part:


This part was a strange thing to work with... This is the film window to the shutter. The reddish brown color is what I can only assume to be varnish. The varnish apparently never cured, or just broke down over time, as it was like glue.


These are the upper works of the shutter release and wind. The movement was total shit thanks to the corrosion/oxidation. First I put them in the sonic cleaner for a few cycles, and then started the process of polishing and sanding the rough off the parts.


The film window, after cleaning/sanding/polishing/ and flame setting a new coating:


The parts after cleaning and polishing:


Assembled (what I can at this time). I will be adding some pure silicone grease to the parts, before it goes back together for the last time. This is to keep all dirt out of the movements, and also to make things cleaner and less slippery to work on.


Sunday, January 20, 2013

Trials...

So, this has been fighting me all the way, so far. Broken tools, and more broken tools...

When I got the camera, I was hoping that the shutter issue was only in the shutter button, but after taking the camera apart, I found otherwise; the problem has to be in the lens pack.


And this is how far I got before my spanner blade snapped. Three screwdrivers, and a spanner have been the casualties, so far. I will be ordering a new spanner, within the next couple of days.
 

Seeing as I cannot go on without a spanner, I will start to clean the parts that I can and polish what needs to be polished.


Saturday, January 19, 2013

To The Range

After a bit more teardown, I found that this camera has been "fixed" prior to me getting it. Whomever did the "fixing" did a bit of damage.

As can be seen below, the screws and pinion mount have been stripped or otherwise damaged. After I was given the go-ahead and remove stuff (I was worried that I would break the pinion), I got the thing out. I think I will add a bit of silicone grease to the threads of everything, once I am done.

I will be working more on the teardown, and then I will be cleaning and polishing all the bare metal, in hopes of keeping the parts clean and workable.


The top cap off:


A bit of dirt/grime/oxide:


And the "Rangefinder"

Tuesday, January 15, 2013

And So It Begins

I finally got some time to start on the camera tonight. This thing is a freaking nightmare to take apart... I did not get very far into the tear down, but so far, I have learned a few things:

1.) Nihon Kosokki apparently used the torque of an ape, and thread-lock while putting all the damned screws in...

2.) This camera uses screws and set-screw that I normally find in mechanical watches (i.e. small).

3.) Modified (read filed down) horology screw drivers become tiny little objects that love to puncture your finger.

4.) This is going to be a challenge. I like that.

Anyway, there are only a few pictures, because I have to be at work in roughly 6.5 hours. More progress will be coming.

You can see some of the old, solidified grease around the spacers. From what I have found with cameras' is that most of the problems stem from the lubricants used, dry and "gunk" up. All will be taken care of when I throw these in the ultrasonic tank.


The parts that have fought me tooth and nail... I don't know if it was old grease or thread locker or plating gull, but damn...


This is what I found to be the most interesting thing, tonight; the set-screws. I have only see these this small in watches. For a scale reference, that is a standard sewing pin...
 

Friday, January 11, 2013

The Arrival

I was contacted by a fellow forum member, and car enthusiast, about cleaning and fixing an old rangefinder camera. After a few messages, and a bit of a wait from a Canadian, the camera is in my hands. I will be documenting everything that I do to the camera. I might not be able to fix it, but never-the-less, I will see what I can do.

To start, this is the condition everything is in and how I recieved the camera. All in all, it looks to be in pretty good shape, with the exception of the shutter not working and the need of a good cleaning to the optics.